

Create a SQL database
In this walkthrough, we will create a SQL database in Azure and then query the data in that database.
Task 1: Create the database
In this task, we will create a SQL database based on the AdventureWorksLT sample database.
1. Sign in to the Azure portal at https://portal.azure.com.
2. From the All services blade, search for and select SQL databases, and then click + Add.
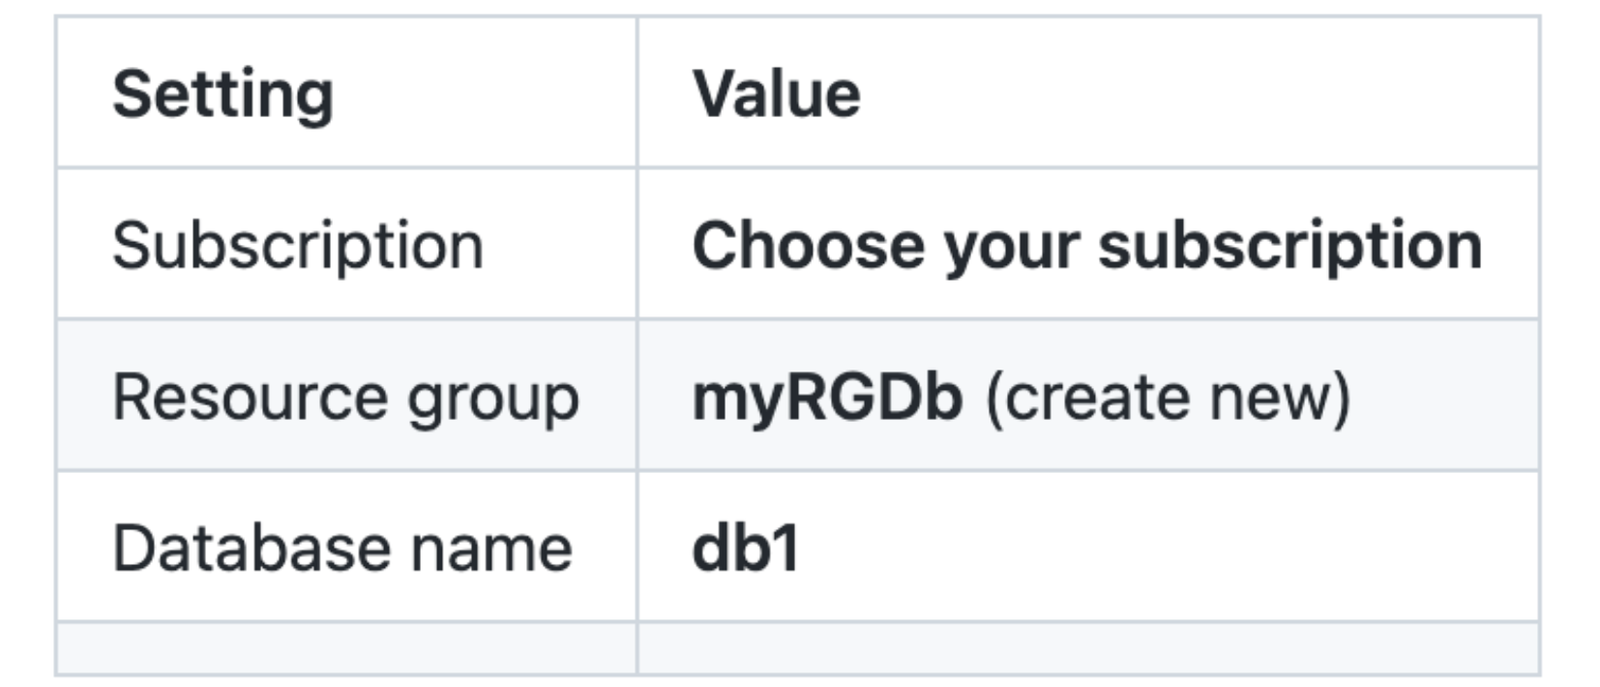
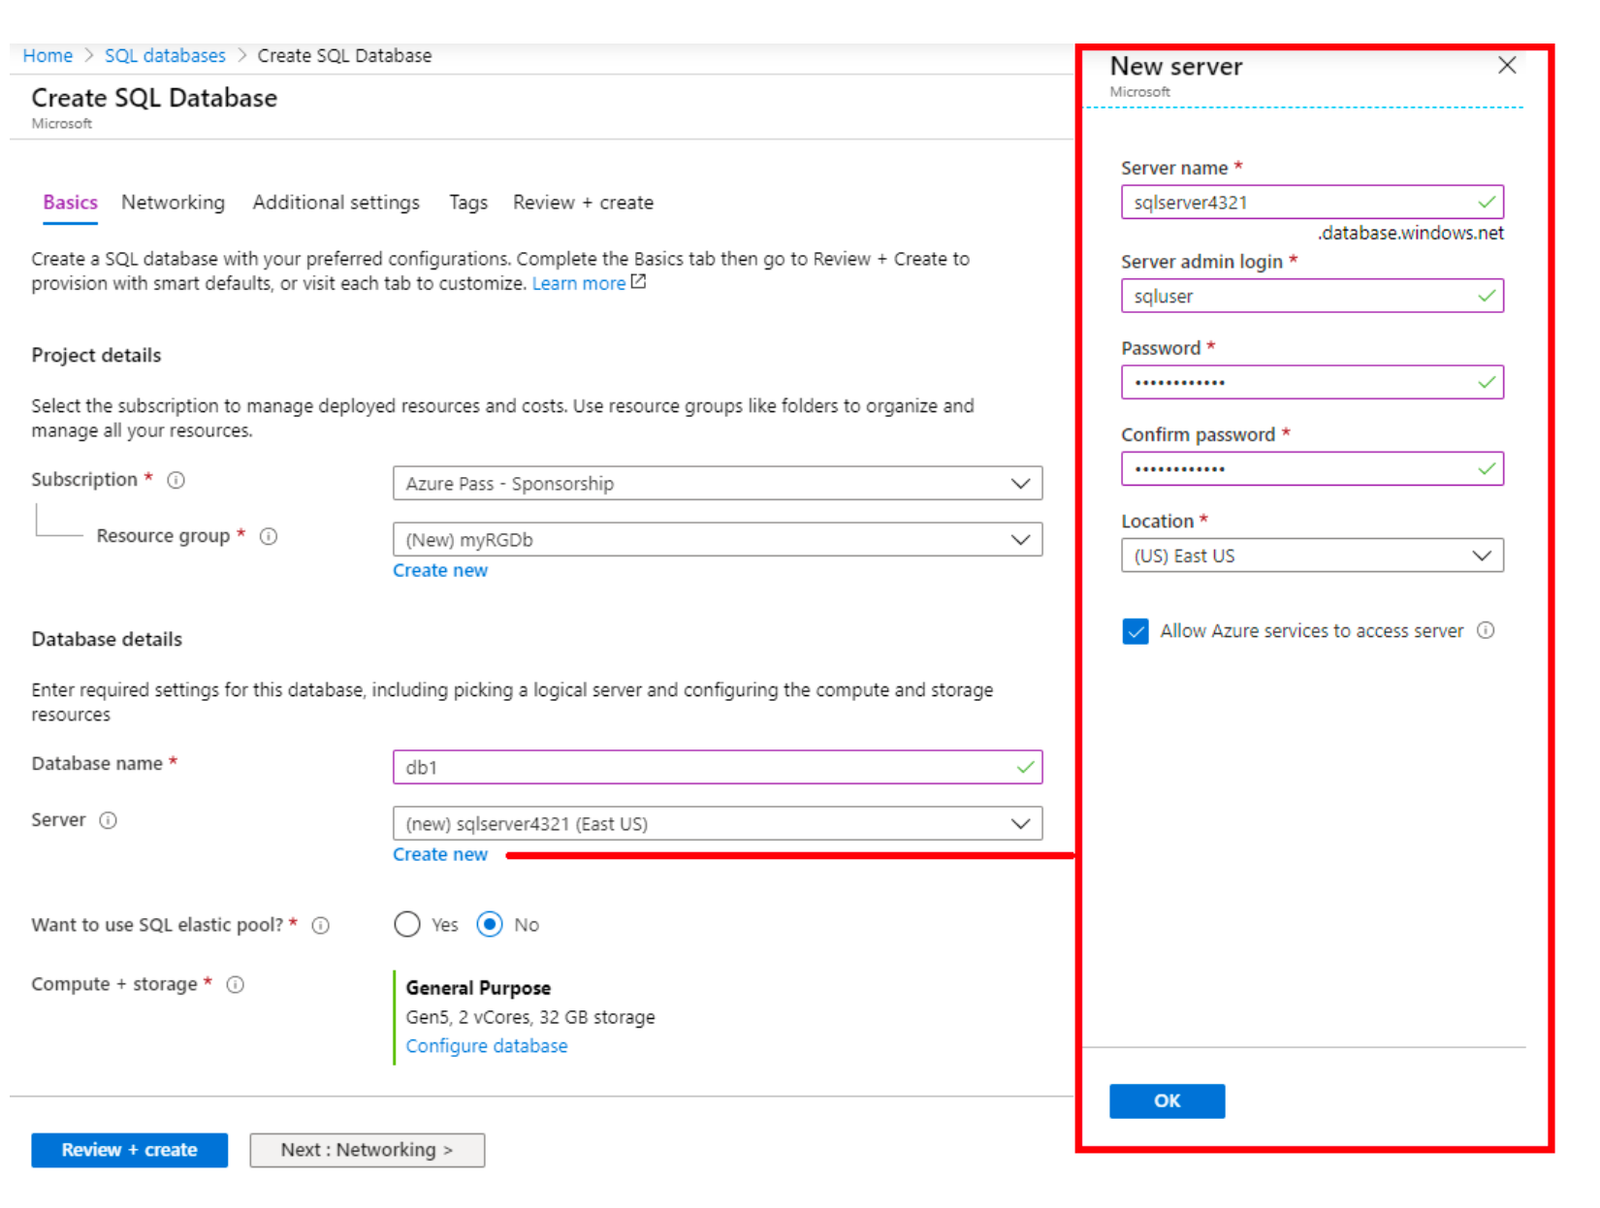
3. On the Basics tab, fill in this information.
4. Next to the Server drop down list, click Create new and enter this information (replace xxxx in the name of the server with letters and digits such that the name is globally unique). Click OK when finished.

5.
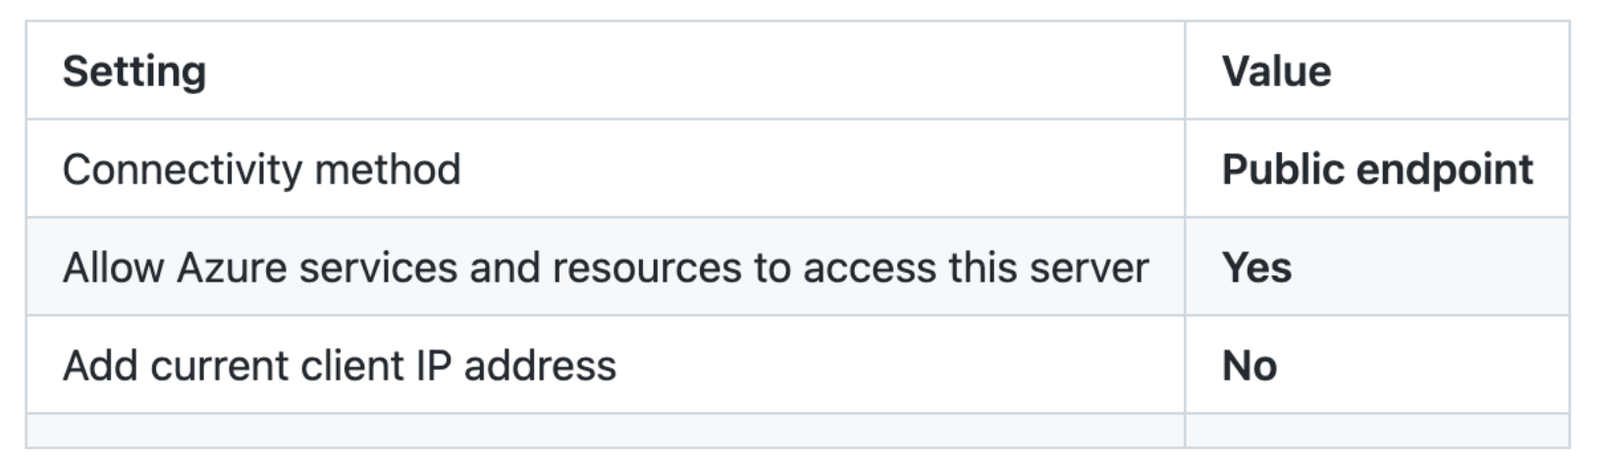
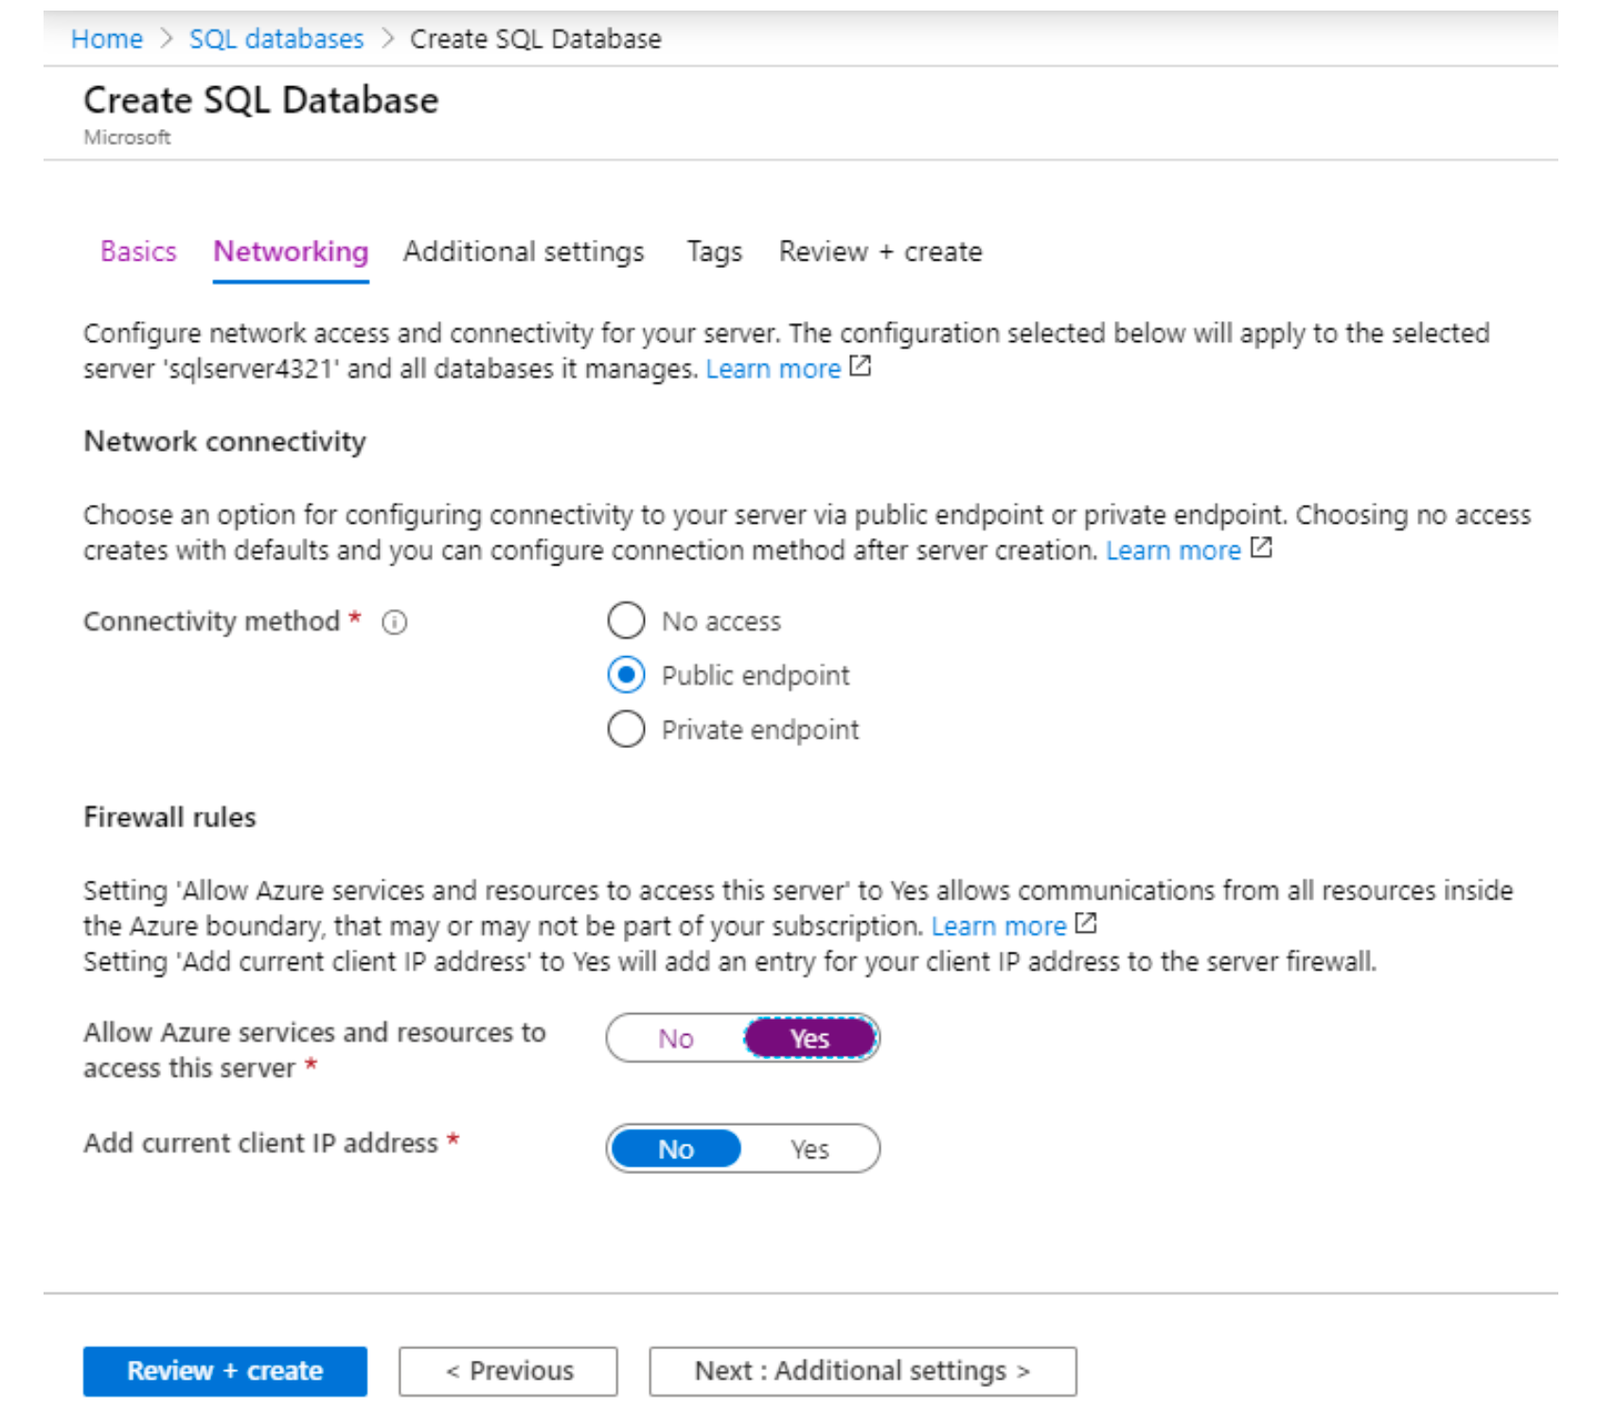
6. Move to the Networking tab and configure the following settings (leave others with their defaults)
7.
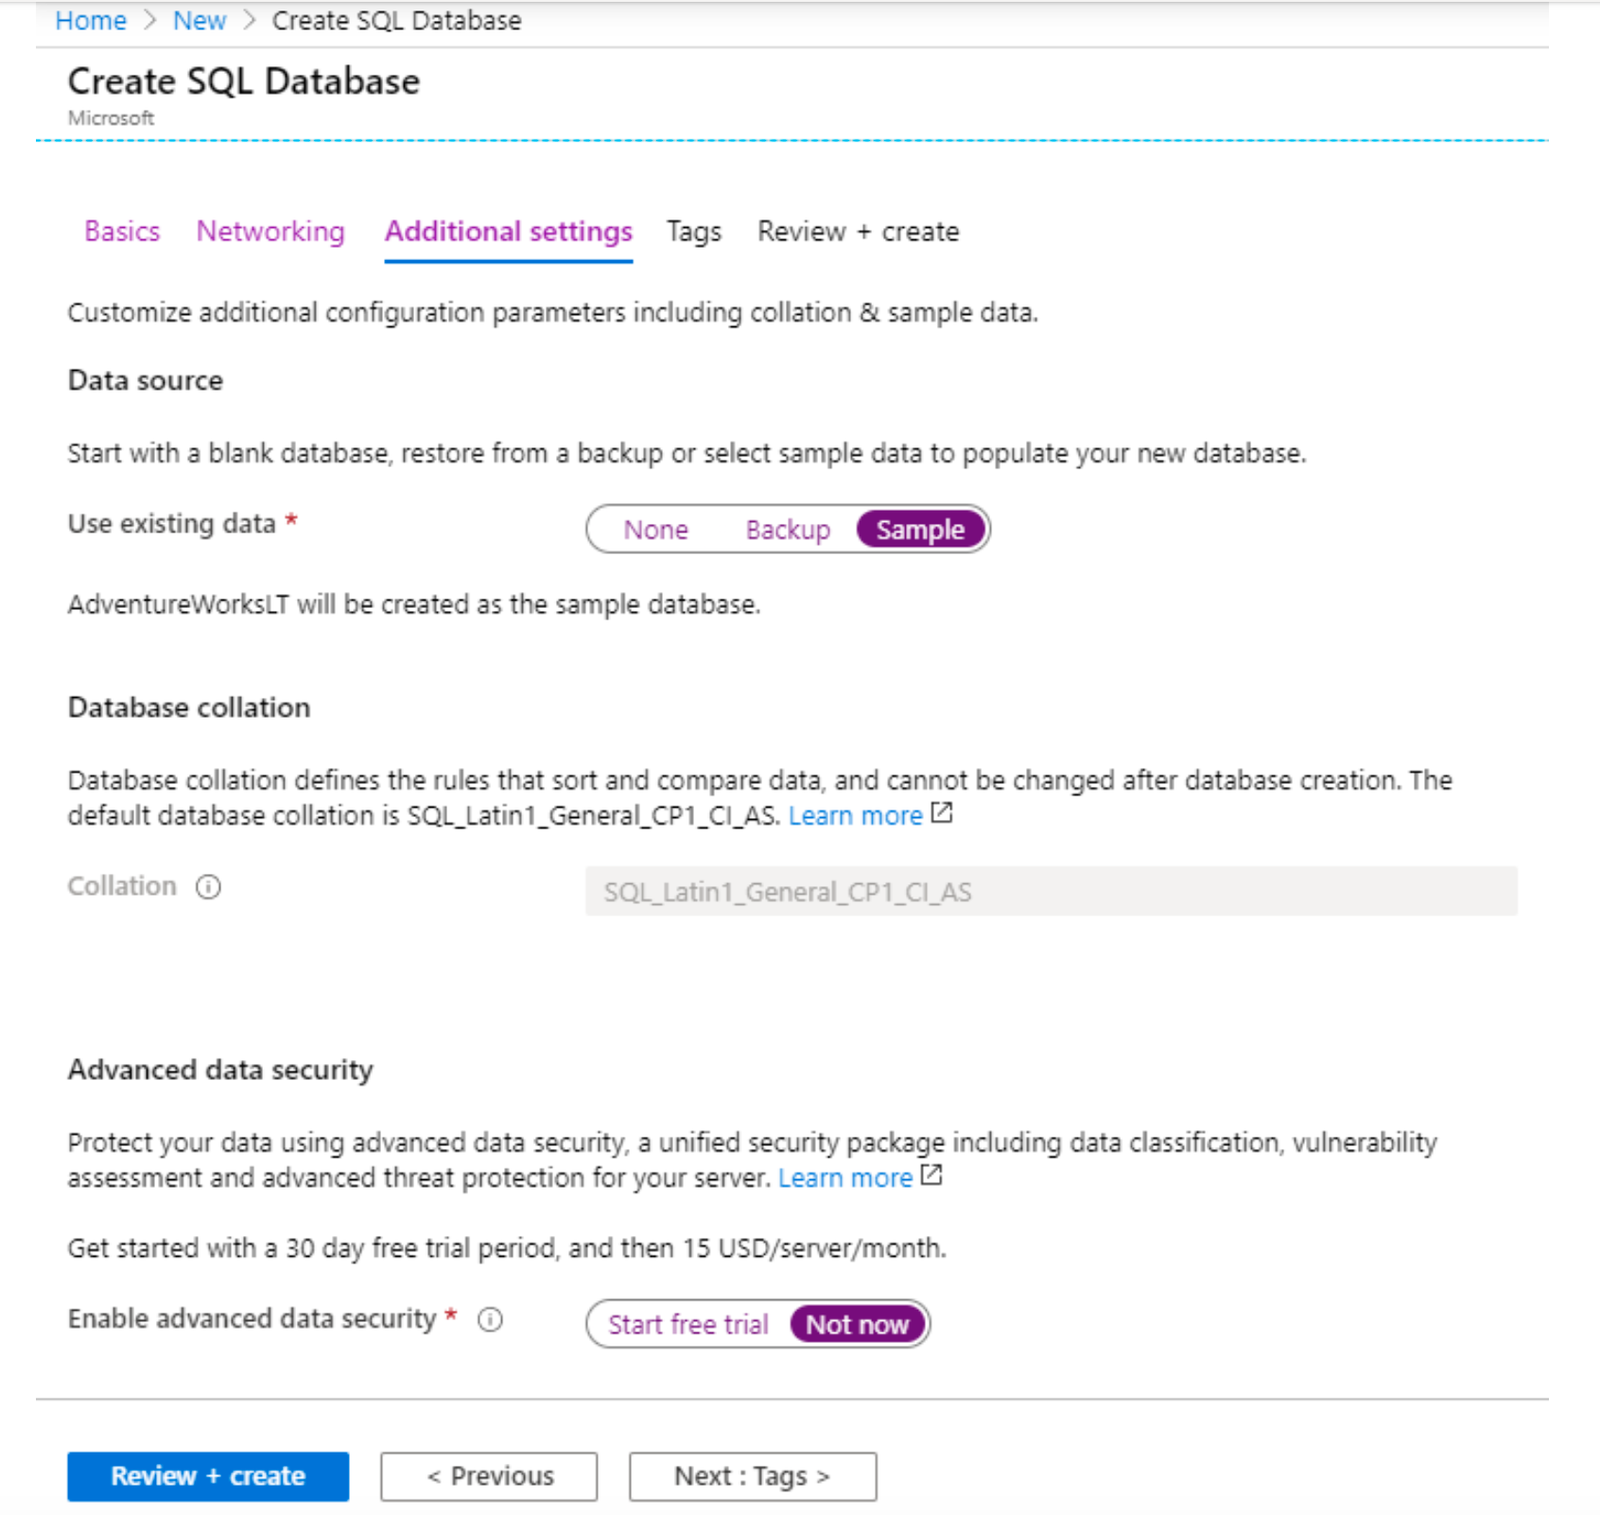
8. Move to the Additional settings tab. We will be using the AdventureWorksLT sample database.

9. Click Review + create and then click Create to deploy and provision the resource group, server, and database. It can take approx. 2 to 5 minutes to deploy.
10.Monitor your deployment.
Task 2: Test the database
In this task, we will configure the SQL server and run a SQL query.
- From the All services blade, search and select SQL databases and ensure your new database was created. You may need to Refresh the page.

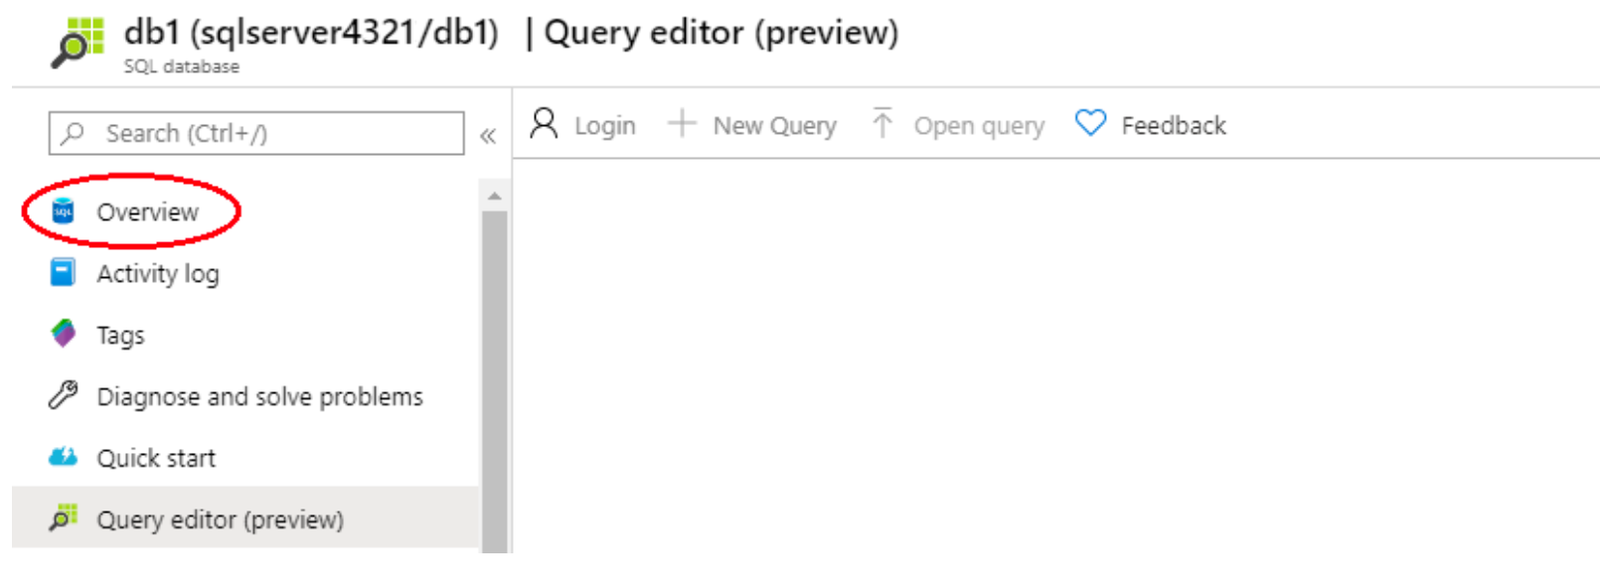
2. Click the db1 entry representing the SQL database you created, and then click Query editor (preview).
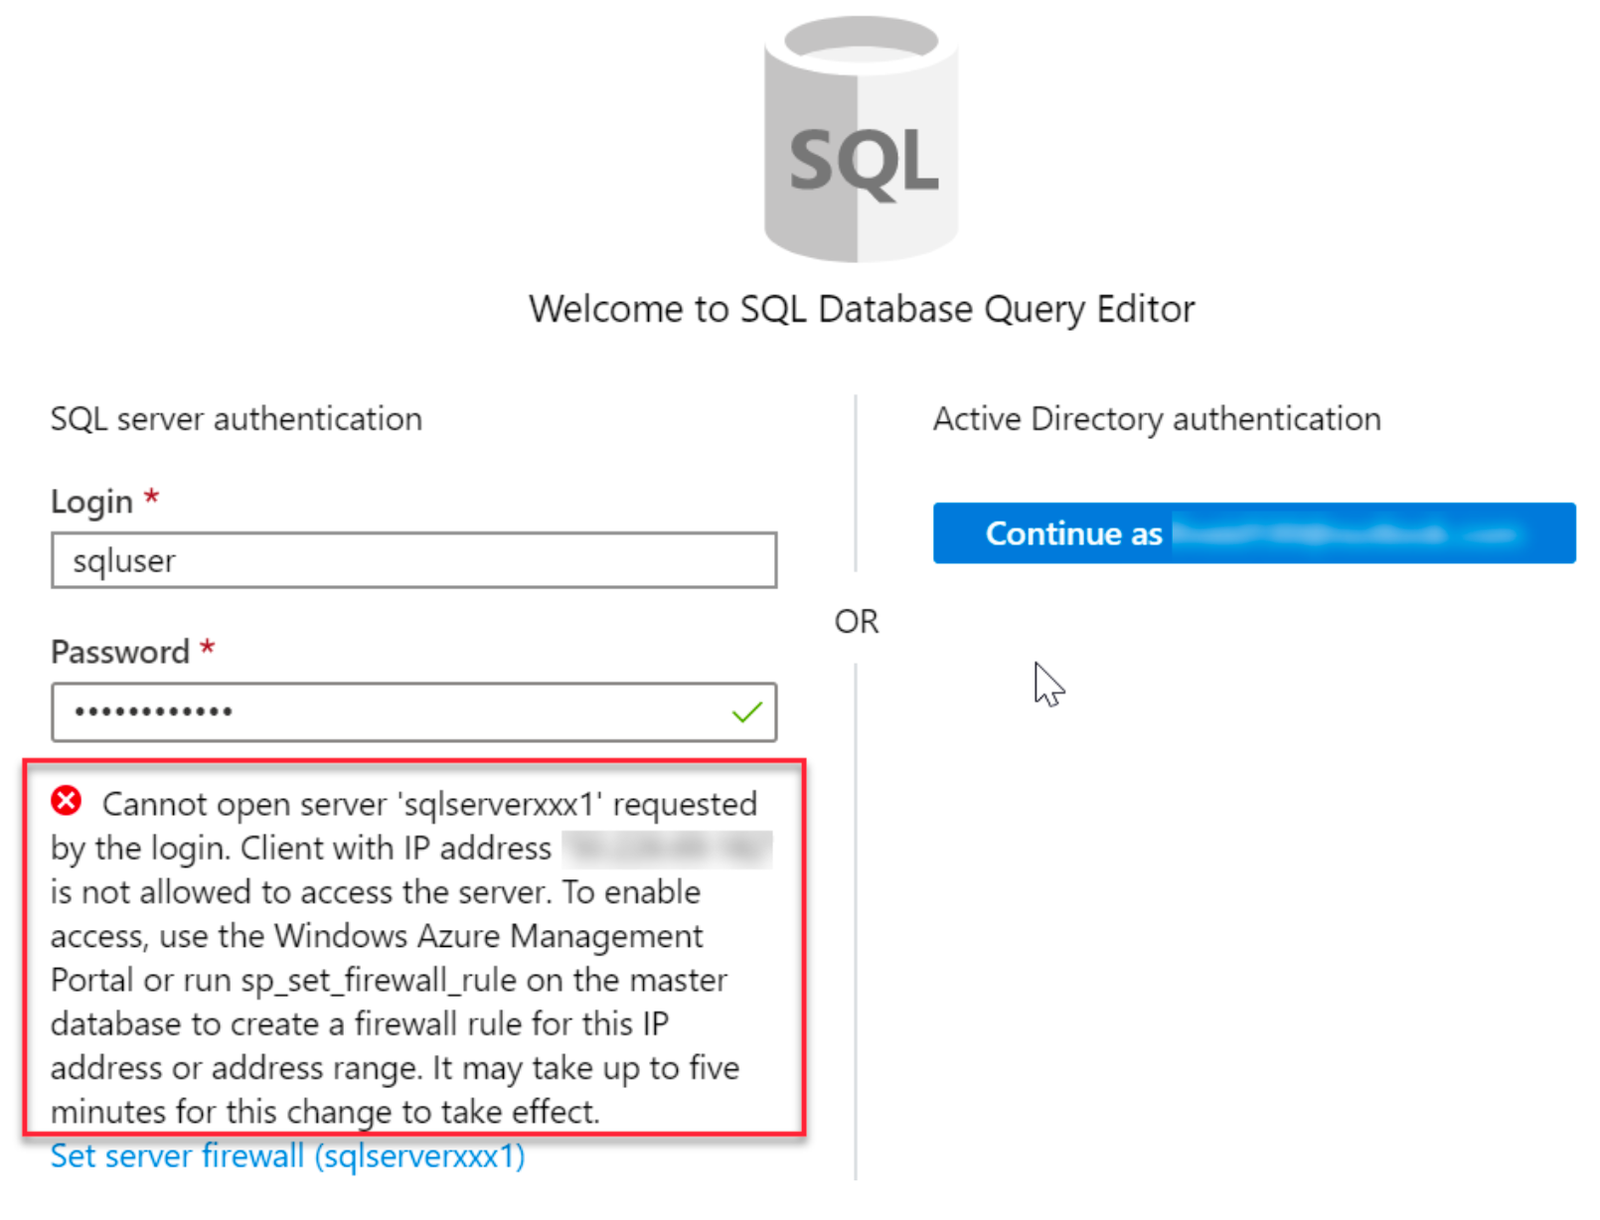
3. Login as sqluser with the password Pa$$w0rd1234.
4. You will not be able to login. Read the error closely and make note of the IP address that needs to be allowed through the firewall.
5. From the db1 blade, click Overview.
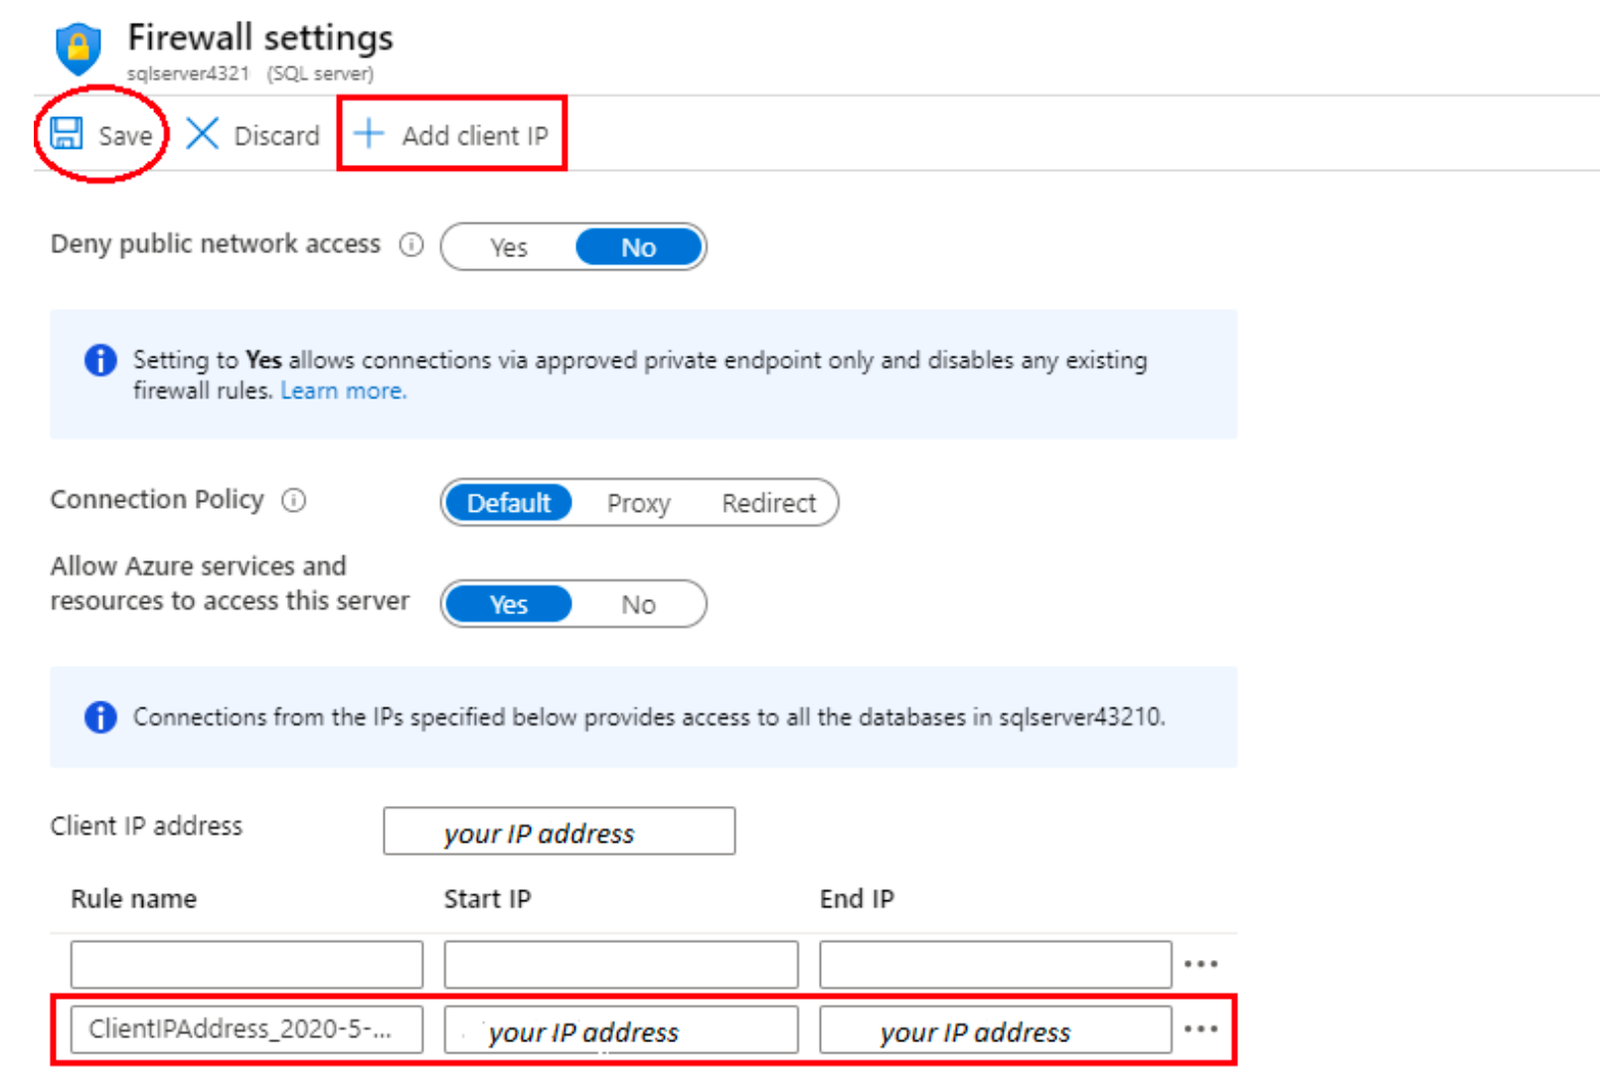
6. From the SQL server Overview blade, click Set server firewall.
7. Click Add client IP (top menu bar) to add the IP address referenced in the error. Be sure to Save your changes.
8. Return to your SQL database and the Query Editor (Preview) login page. Try to login again as sqluser with the password Pa$$w0rd1234. This time you should succeed. Note that it may take a couple of minutes for the new firewall rule to be deployed.
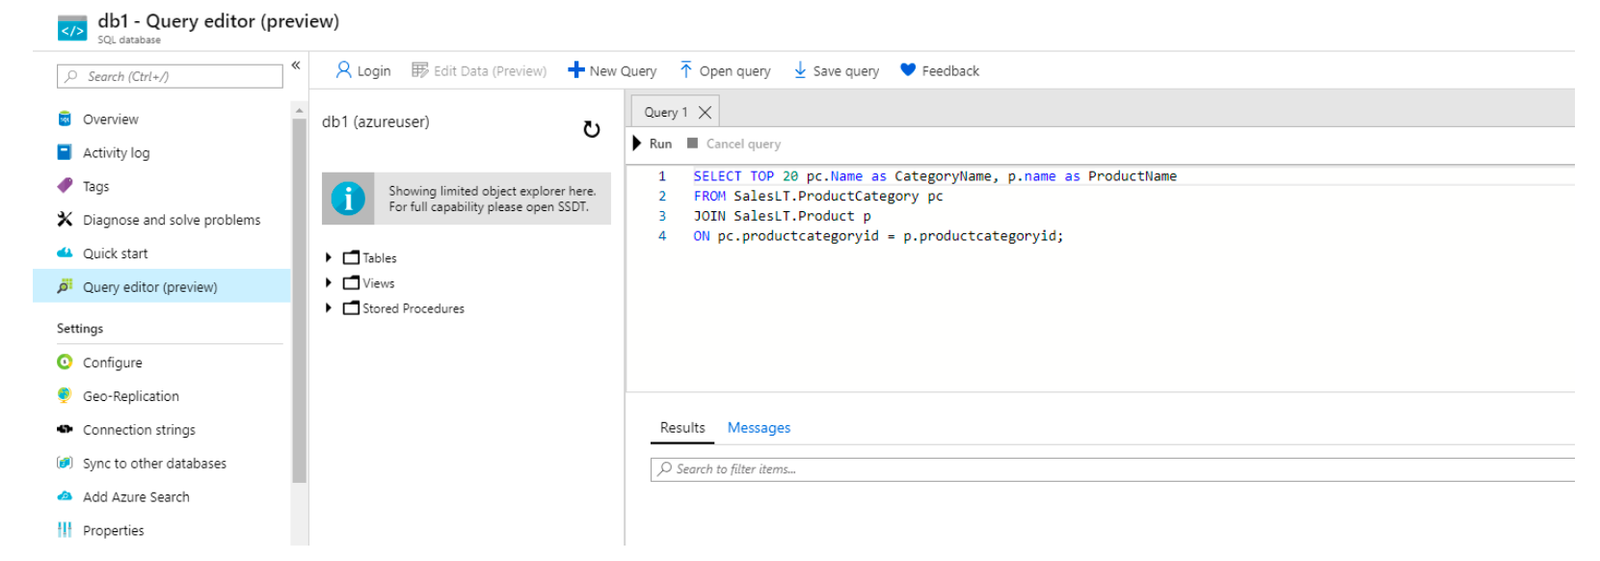
Once you log in successfully the query pane appears, enter the following query into the editor pane.
SELECT TOP 20 pc.Name as CategoryName, p.name as ProductName FROM SalesLT.ProductCategory pc
JOIN SalesLT.Product p
ON pc.productcategoryid = p.productcategoryid;
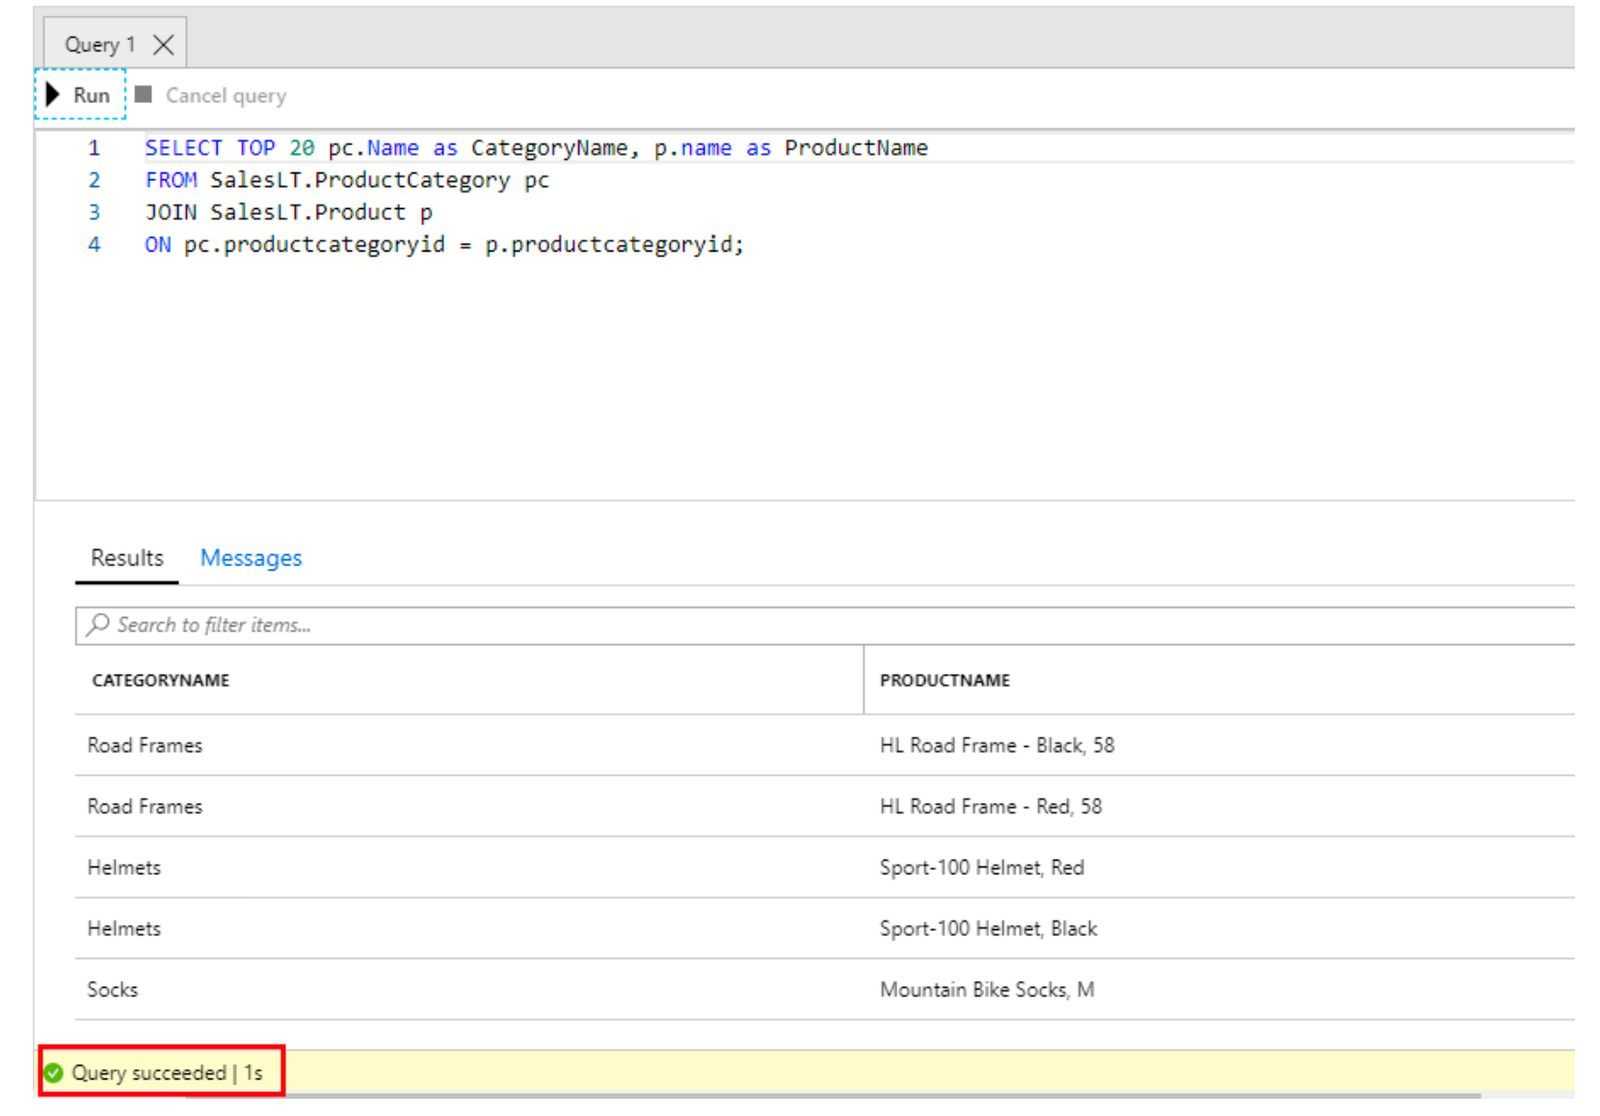
10. Click Run, and then review the query results in the Results pane. The query should run successfully.
Congratulations! You have created a SQL database in Azure and successfully queried the data in that database.
Note: To avoid additional costs, you can remove this resource group. Search for resource groups, click your resource group, and then click Delete resource group. Verify the name of the resource group and then click Delete. Monitor the Notifications to see how the delete is proceeding.
